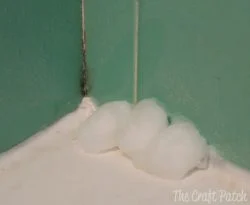
Is that a black spot on top of the caulk? Cant it be scrubbed off?! Upon further inspection, you see the mold is actually growing under the caulk. It never seems to go away. Even if you re-caulk your bathtub or shower, it seems to come back over and over again. Argh! But WHY does it come back over and over again? Answer: Sometimes, the mold and mildew in your bathroom is growing under the caulk.This means new caulk won’t fix it. (Say what?!?!) Yep. Even if you replace the caulk, the mildew is still there, so it just comes back and you end up where you started. How can you determine where the mold or mildew is growing?
Here’s a quick test to perform, along with the DIY tips you need to fix things up for good: apply bleach-soaked cotton balls to the mold. (Photo courtesy of www.thecraftpatchblog.com.)
The bleach test
Take a cotton ball soaked in fresh household chlorine bleach to the mildewed caulk. If the mildew disappears immediately, you’ll know it’s growing on top of the caulk. A good shower cleaning is in order.
If the mildew disappears but takes 45 seconds or longer, it’s likely mildew under the caulk. Fixing that takes more work (and gumption). Here’s how to tackle that project.
Is there mildew visible where you removed the caulk?This happens when rigid caulks lose adhesion or crack. Water gets behind the caulk, which then leads to the mold and mildew growth. Is the mildew not visible?It could be behind the tile and the caulk line is simply the exit area. (Ugh.) Remove a tile – yes, this takes work – and see where the mildew is coming from. Often times, unsealed grout lines are an entry point for moisture. They fester and rot…er…mildew over time and come out through the path of least resistance: around the caulk line.
3. Eliminate the mildew
Hopefully, the mildew growth is localized and minor. A mildew remover product or a mild household bleach and water solution – 5 parts water to 1 part bleach – will do the trick. If that removed tile hints at anything more serious (like mildew covering the wall and/or the back of the tile, or visible mildew around surrounding tiles, etc.), time to call in a specialist.
4. Re-set the tile and seal the grout
Prevent any future moisture infiltration through that grout. Seal it up! Your local hardware store will have grout sealer. Re-caulk after all of the mildew is removed and the surface is clean.
And this time, make sure you don’t get mildew on the caulk. Use a product with active enzymes (like Sashco’s Cleanz®) or one that is naturally resistant to mildew growth due to its chemical makeup (like Sashco’s Lexel®).
6. Enjoy your hard work.
Have an iced tea. Or a latte. Or some ice cream. And enjoy having more free time. (Time is the best, really.) Most importantly, enjoy that first mold-free shower. Linger a while longer under the hot water while you stare at the lack of ugly black stuff. Soothing, isn’t it?
Out of all the spaces in your home, the bathroom is one that is most likely to be a breeding ground for mold. Even if you keep your bathroom clean, the moisture in the environment makes it fairly easy for mold to grow. Using mold-proof caulk when renovating your bathroom can help prevent mold from growing in joints or crevices.
Whether you’re a DIYer renovating your own bathroom or a general contractor who wants to provide superior performance for your clients, Sashco’s mold-proof caulks are the smart choice for any bathroom space. Here are three reasons why you should use mold-proof caulk in your bathroom.
What is Mold-Proof Caulk?
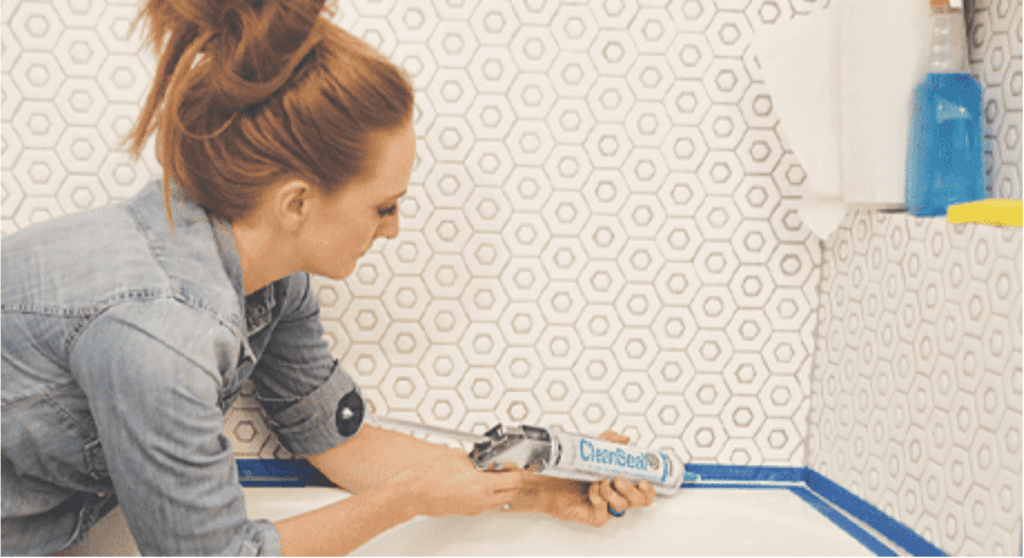
Sashco’s CleanSeal mold-proof caulk is designed specifically for use in moist environments, such as the bathroom and the kitchen. This caulk is water-resistant, and it also uses active enzymes to prevent mold from growing over time.
Bathroom surfaces are consistently wet and create the perfect environment for mold to grow. If you use a caulk that isn’t water-resistant, water could seep into the caulk and actually cause mold to grow underneath the surface. Since you can’t see this type of mold, it is difficult to clean and can go undetected for a long time.
Additionally, CleanSeal contains environmentally friendly enzymes that prevent natural oils from building up on the caulk and feeding into mold. These enzymes are designed to keep working for a long period of time and continuously keep your caulking mold-free. While there are other sealants on the market that claim to be mold resistant, they typically use mildewcides, which can lose their effectiveness over time. Many mildewcides are also harmful for the environment, whereas CleanSeal’s bio-friendly enzymes are much safer.
3 Reasons to Use Mold-Proof Caulk
Enhanced Flexibility
Over time, it’s normal for your house to move and settle. You may not notice it happening, but these shifts could actually cause your caulking to crack if you’re not using the right products. When your caulking cracks, it’s much easier for water to seep in and mold to start building up.
While other caulks are rigid and can break when your house moves, CleanSeal is highly elastic and actually stretches with the building. This is because of its co-polymer construction, which keeps it flexible.
Proven Technology
CleanSeal uses proven anti-mold technology to keep your bathroom fresh and free of mold and mildew. This is because we use unique anti-mold enzymes, which you can’t find in any other caulking product. Instead of killing the mold after it grows, these enzymes actually prevent the mold from growing in the first place. The enzymes ‘eat’ the natural oils that feed the mold.
Additionally, these enzymes are environmentally friendly and safe to use indoors. They stay active over time, so they will continue to prevent mold from growing years after application. This superior performance makes CleanSeal a great product for contractors. However, CleanSeal is also very easy to apply and clean up, so it’s equally good for DIYers who want to renovate their bathroom on a budget.
Superior Adhesiveness
Finally, CleanSeal mold-proof caulk is highly adhesive. This means that it creates a fully waterproof seal on any surface that you apply it to, which can prevent mold from growing inside. Additionally, this caulk won’t peel off over time, even with the consistent wear and tear that the bathroom gets. Since CleanSeal is so adhesive, you can scrub away at the tiles to get them clean without worrying about the caulking peeling off.
Choosing Your Mold-Proof Caulk
While there are many caulking products that claim to be mold-resistant, Sashco’s CleanSeal is a superior option because of its unique mold prevention technology. Not only can it prevent mold from growing in the years to come, but it provides superior adhesiveness and elasticity. It’s also very easy to apply and smooth out for a clean finish.
If you need a mold-resistant caulk for other areas of your home, Sashco’s Lexel is another reliable option. Lexel is a rubber-based sealant that works on both indoor and outdoor surfaces. It has a clear, paintable formula that looks great and blends in with many different surfaces. It can also be applied wet or dry.
Whether you need to renovate your own bathroom or you want to provide superior performance for your clients, Sashco CleanSeal is a great caulking product. Using durable and mold-resistant caulk for your bathroom can help keep your bathroom clean and healthy for years to come.
If you’ve just added or replaced your kitchen backsplash, you know how much it can add to your kitchen’s aesthetic and revitalize the entire space. Before you start to use your new beautiful kitchen, however, you’ll want to commit to one last step that will ensure that the cabinets and walls won’t suffer from any unwanted moisture damage: you will want to caulk around your kitchen backsplash.
Our kitchen countertops get a lot of wear and tear over time. They also serve as a landing place for moisture throughout the day, which, if not wiped up, can seep into gaps behind walls and appliances. Over the years, moisture buildup can lead to larger problems in the walls and cabinets, so it’s important to caulk along the kitchen backsplash before using the area.
Why Updated Caulk Matters for Your Kitchen Backsplash
Even if your backsplash looks good and is either cleaned regularly or was recently renovated, adding sealant is crucial to maintaining its long-term health (and yours!). You’d be surprised how much water regularly collects in kitchens over time in out-of-the-way spaces. It’s even more important to know the potentially harmful impact of that collected water over time.
If water seeps through old cracked caulk or an unsealed gap along a backsplash, it can build up in the wall and create extensive damage to everything around it and can potentially penetrate deeper into the structure of the house itself. Water that sits in dark places for a long time is also the perfect place for mold to grow, which can cause serious health concerns to adults and children alike.
Clean, new caulk also provides a finished edge to the backsplash and can help polish off a new space. And before you close your eyes to envision a pasty white line of caulk that’s messy and smeared, think again: not only will this guide show you how to create a smooth bead of sealant along your backsplash, but it will reveal how you can caulk in any color imaginable.
How to Install Caulk on a Kitchen Backsplash
To get ready to recaulk a kitchen backsplash, you’ll want your tube of caulk, a good caulking gun, a utility knife and razor blade, and a rag with some water.
A note on good caulk for kitchen use: Make sure that your caulk is water-resistant and that it will hold up over time as joints naturally expand and contract due to changes in pressure and temperature. You don’t want a caulk that will crack or break its seal after only a year of use!
Step 1: Remove Old Caulk
To get started on a backsplash that already has caulk, use your utility knife to cut out and remove the old caulk from along the joint. Once you cut it out, you may need to use a razor blade to scrape away any remained pieces sticking to the backsplash or the wall.
Once all chunks of caulk are gone, clean the joint to get rid of any remaining caulk dust or smaller pieces. Wipe it down if necessary and make sure that all surfaces are completely dry before applying the new caulk.
Step 2: Apply the Caulk
Prepare the caulking tube by slicing at a 45-degree angle about ¼” from the end of the tip so that a small bead of caulk can be extruded.
Once you have loaded the caulking tube into your gun (unless you are using a squeeze tube, which you can simply apply by hand), place the tip of the tube in the center of the joint with the short side of the cut tip facing the gap. Steadily move the tube along the joint while squeezing out the caulk. For a smooth bead, make sure that you are pulling the tube along and not pushing it.
While you need enough caulk to cover the joint, try to keep the bead minimal to avoid making a mess. The less caulk used, the more the job will blend in with the overall backsplash without standing out visually.
Step 3: Smooth the Caulking
Chances are your new caulk bead doesn’t look perfect. Don’t worry! Instead of trying to scrape it into place or wipe some of it away, you’ll want to simply use a damp rag to wet your finger and run it gently along the caulking. The water will help your finger smooth the surface and make it look uniform without sticking to your skin.
Even if your caulk bead looks great after you apply it, continue to smooth it with your finger to increase its adhesion to the backsplash and to the wall. Once the caulk is smooth to your liking, congratulations! You officially have a finished backsplash.
Best Caulk for Kitchen Backsplashes
Now that we’ve covered caulking technique, let’s talk about appearances. Caulk traditionally comes in a limited range of colors that don’t always fit in perfectly with the color scheme of a backsplash or overall kitchen. Some latex caulks are paintable, but taping off an area to avoid getting paint on walls or tile nearby is can be a tedious, time-consuming process.
Sashco’s Color Solution: eXact color®
We’ve made a product that simplifies the caulking process and saves you time while improving your project design. With Sashco’s eXact color®, you’ll never have to worry about whether or not caulk will match surrounding colors, and you won’t have to spend hours taping off every nearby surface. Instead, you’ll be able to precisely match your caulking job to a paint color that fits in with the design of your kitchen or of any other space that needs sealant. In just a few minutes, you can mix your caulk to an exact paint or pigment color before applying it in one simple step, saving you time and improving the aesthetics of the overall space.
All you need to match eXact color® is your paint or stain of choice. The eXact color® product comes with a syringe that allows you to directly add paint before shaking the tube itself to mix it together. Once you add and mix a thickening agent, you’ll be ready to go! The process only takes a few minutes and saves you time and the hassle of coming back to paint.
Design and Performance
Don’t plan on sacrificing quality to get the appearance that you want. eXact color® uses the same powerful adhesion technology that we use in our Big Stretch products to create a long-lasting seal that can withstand constant moisture over time (although we wouldn’t recommend it for areas that experience complete submersion). It can also be used for gaps that are up to 2 inches wide, transforming an awkward space into one that seamlessly matches its surroundings.
Caulking Your Kitchen Backsplash
Installing caulk along your kitchen backsplash will help prevent moisture from building up and causing long-term problems with mold and water damage down the road. It can also provide a nice clean line to finish the project nicely. Best of all, it won’t take you long, especially if you have a product like eXact color® that allows you to match the sealant to the color scheme of the entire space without messily painting over it.
Whether you’ve just finished a new kitchen remodel, want to replace old yellowing caulk, or need a customized color for sealant in other spaces of your home, eXact color® simplifies the process without falling short on adhesion and long-term elasticity. Find it at a supplier near you to give it a try! For questions or concerns, reach out to our customer service team today. We’d love to hear what you think!
Bathroom caulk or sealant is meant to last a long time, just like any brand will tell you right on the tube itself. So why is it that bathroom caulk needs to be repaired or completely reapplied so often? Whether you’re a homeowner tired of looking at peeling caulk or a contractor getting calls from customers to re-caulk their bathroom yet again, you’re most likely frustrated that things aren’t working as they should!
Just as with anything else around the house, the well-paved road to long-lasting bathroom sealant is regular maintenance. While caulk is meant to be a long-term solution, using the wrong caulking product or forgetting to clean the caulk regularly will just lead to leaks and problems with mildew. Let’s take a closer look at bathroom caulk to learn how to maintain it over time.
Over time, wear and tear on your bathtub can cause the caulk to break down. However, you can actually repair your tub on your own with the right sealant. Not all sealants are created equal – you’ll need an option that’s easy to apply and will provide long-lasting performance. Sashco CleanSeal is the contractor’s choice for tub repair and other kitchen and bath projects. Here’s why CleanSeal is the most reliable option for DIY bathtub repairs.
Finding the right caulking product for the bathroom can be tricky. Bathrooms are warm, humid environments, so durability on its own isn’t enough – you need a caulk that is specifically designed to handle moisture. If you don’t use the right caulk on your bathroom projects, you could end up having to do short-term repairs, which can hurt your reputation and make your customers unhappy. Here’s what to look for in a great tub and tile caulk.
Knowing how to caulk a sink is essential for any kitchen remodel. Not just any caulk will do for this project – you’ll need a high-performance caulk or sealant that gives your customers long-lasting results. High-quality sealants are more durable and, for a contractor, that means fewer repairs for your team and less hassle for your customers. Read on to learn how to caulk a sink and why the type of caulk you use makes a difference.
Renovating a bathroom comes with plenty of unique challenges. As a contractor, you know how tough it can be to create a water-tight seal that will prevent mold and mildew from growing. You’ll need a tough, long-lasting caulk with water-sealing technology. Your caulking also needs to look great in the bathroom and be easy to use on any project that comes your way.
It takes one bathroom remodel to get overwhelmed with the task of finding a product that works. For the veritable army of caulk brands out there, it’s surprisingly hard to find a product that does the job of sealing gaps and joints around the tub and sink to keep out moisture and mold. Sometimes a caulk might look great when applied but cracks or breaks in a matter of months, requiring re-application.
So, before you head out to your supplier yetagain for an upcoming bathroom job, here are a few categories to help you narrow your search to find a type of caulk that actually works.
Contractor Needs
The best caulk for bathroom application needs to meet the demands of your team and the expectations of your customer. Your team will need a caulk that applies well. To get the job done quickly and efficiently, they’ll need product that is manageable to apply and that easily produces an attractive, malleable bead. Prep and clean-up often take just as much (if not more) time than application, and a caulk that doesn’t require extensive surface preparation or a complicated smelly cleaner will go miles in making the overall job easier.
Customer Needs
For your customer, the caulk needs to look good and to age well. They’ll want a caulk that blends into its surroundings and looks neat and professionally applied. They also need a product that does its job to protect bathroom surfaces from moisture and from nasty visitors like mold and mildew, which means that it needs to be able to hold its seal over time and has to be impervious to mold and mildew growth. This not only preserves a homeowner’s bathroom but protects your reputation as a contractor as well.
Caulking failures and prevention
No matter how well it’s applied, inferior caulk can fail in a variety of ways. When on the lookout for a reliable product, it’s important to be aware of how the caulk maintains flexibility, adheres to other surfaces, and responds to bathroom invaders like mold and mildew.
Flexibility & Elasticity
One of the most common failures of bad caulk is that it will harden over time. Bathroom surfaces and fixtures experience constant changes in pressure from weight distribution while using the tub and as the structure of the house shifts and settles over time. If the cured caulk is too inflexible to handle these changes, it will crack, breaking the seal and allowing moisture to accumulate behind the sink and tile into the floor and the walls. It is so important to look for a caulk that goes beyond flexibility and elasticity, these are just the basic needs when it comes to a caulking product.
To see the difference between flexibility and elasticity, look at a piece of paper and a rubber band. Both are flexible, meaning they bend. The rubber band is elastic, meaning it stretches and returns back to it’s original size.
Adhesion
Caulk needs to be engineered to adhere to materials most often used in bathroom construction. If the caulk can’t form an incredibly strong, sticky bond with both sides of a gap or joint, the shift in pressure that causes breakage can also pull the caulk away from a surface, breaking the seal.
Mold & Mildew Prevention
The final most common problem in the bathroom is the growth of mold or mildew. When residues from body products accumulate on bathroom surfaces, mold and mildew thrive and become threatening to homeowners’ health and to the bathroom itself. We’ve heard horror stories of mold growing behind caulk or even inside it, and the frustration that customers experience when they have to clean it off again–and then again. If left untreated, this mold can spread behind the shower and tile into the wall, leading to much more serious problems that can go undetected for years.
Acrylic-latex vs. silicone caulk
When it comes to choosing caulk, you’ll often decide between using silicone and acrylic-latex products. Silicone caulk is well-known for its strength and elasticity, but it can be treacherous to apply. It’s notoriously bad at sticking to itself, which means that if your customer needs a repair, your team will have to remove the old product with a chemical solvent and wait for the area to dry before re-sealing.
Acrylic-latex caulk adheres excellently to itself and to both porous and non-porous materials. It’s also less viscous, which is a fancy way of saying that it’s easier to gun out; it’s more manageable to control and to produce an attractive bead. Because acrylic-latex caulk is water-based, all it needs for clean-up is warm water and a rag, which saves you from using smelly, high-VOC chemicals in your client’s home.
Finding a quality acrylic-latex caulk
Acrylic-latex caulks include plasticizers, chemical agents that improve flexibility in the caulk after it cures. In many caulks, these plasticizers leach out over time, and the caulk becomes hardened and resistant to stretch. This will either cause cracking or will break the seal and render the caulk useless.
These sub-quality caulks will require reapplication over the years, costing your customer satisfaction and time. When you can find a high-performance acrylic caulk that maintains long-term elasticity, you’ll have a product that is both durable and easy-to-apply: the best of both worlds.
CleanSeal: durability and active enzyme technology
CleanSeal® is our high-performance caulk created to challenge the issues that come with bathroom installation. This caulk combines the excellent adhesion properties of acrylic-latex technologies with long-term elasticity (no short-term plasticizers!), which results in a watertight seal that withstands the natural shrinkage and expansion of gaps and joints throughout the bathroom.
To make CleanSeal even more effective (and cutting edge), we infused it with an active enzyme that actually digests those oils from shower products that mold and mildew love so much. This doesn’t just slow their growth; it prevents it right from the start. This new technology is the first to market in caulking, and unlike mildewcides that leach out over time and wash down the drain, our active enzymes remain permanent in the caulking, keeping the seal mold-free throughout the life of the product.
CleanSeal application options
CleanSeal is available both in a cartrdige for traditional application with a caulk gun and in a squeeze tube for tight corners and spaces where precision is important.
This helps avoid additional clean-up and speeds up the process for the team. Plus, the squeeze tubes are easy to keep in your pocket or toolbox. All in all, it’s an effective, easy-to-clean product that does the job that you need it to.
Finding the best caulk for the bathroom
Choosing the right bathroom caulk is an essential aspect of a high-performance caulk job. If you find a reliable brand that meets every need, you’ll be able to reassure your customers that the job was completed professionally and that it will last because you used the best possible product.
Having a high-performance product (we recommend CleanSeal, although we have to admit that we’re a little biased) gives you the confidence to set all fears of ‘caulking failures’ aside with crucial features including active enzyme technology, powerful adhesion, and superior elasticity. Most importantly, that caulk will do the job it was meant to do: ensuring happy customers who can enjoy a well-sealed, mold and mildew-free bathroom for years to come.
If you have ever remodeled a bathroom, you understand how challenging finding a product that works can be. Although a veritable army of caulk brands is on the market, it is surprisingly difficult to find one that seals gaps and joints around the tub and sink so that moisture and mold can’t get in. In some cases, the caulk looks great when applied but cracks or breaks in a matter of months—cue callback.
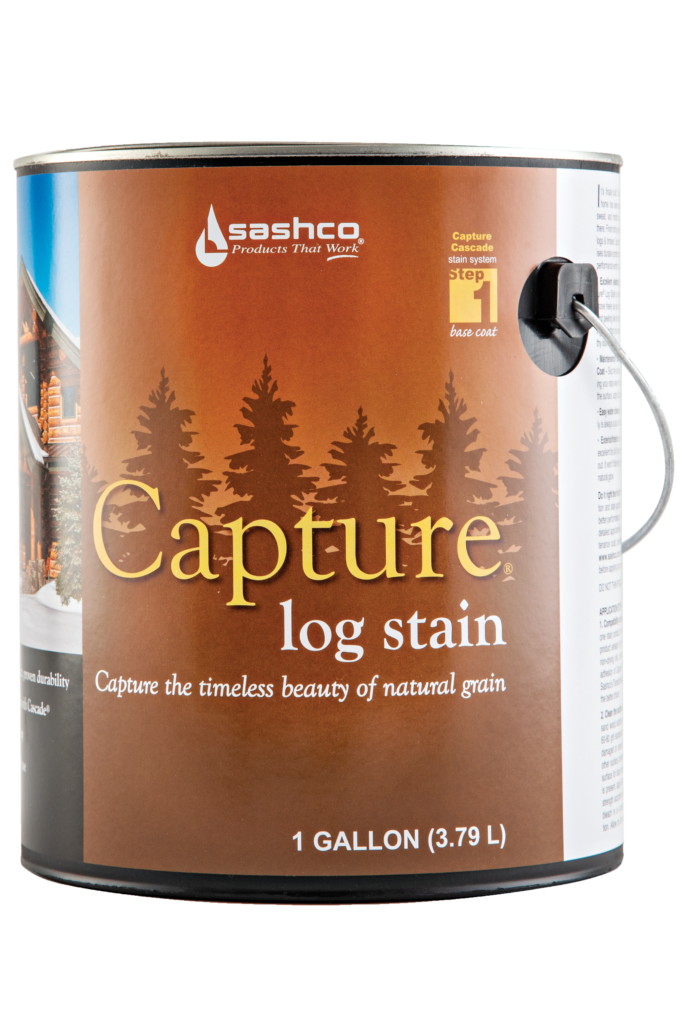
Don’t compromise at the end of a long and arduous journey by using an inferior stain not designed for logs. Capture and Cascade deliver performance worthy of the journey that got you here.
Moves with your logs and timbers
Won't hide the wood grain
Easy clear coat maintenance with Cascade(R) exterior clear coat
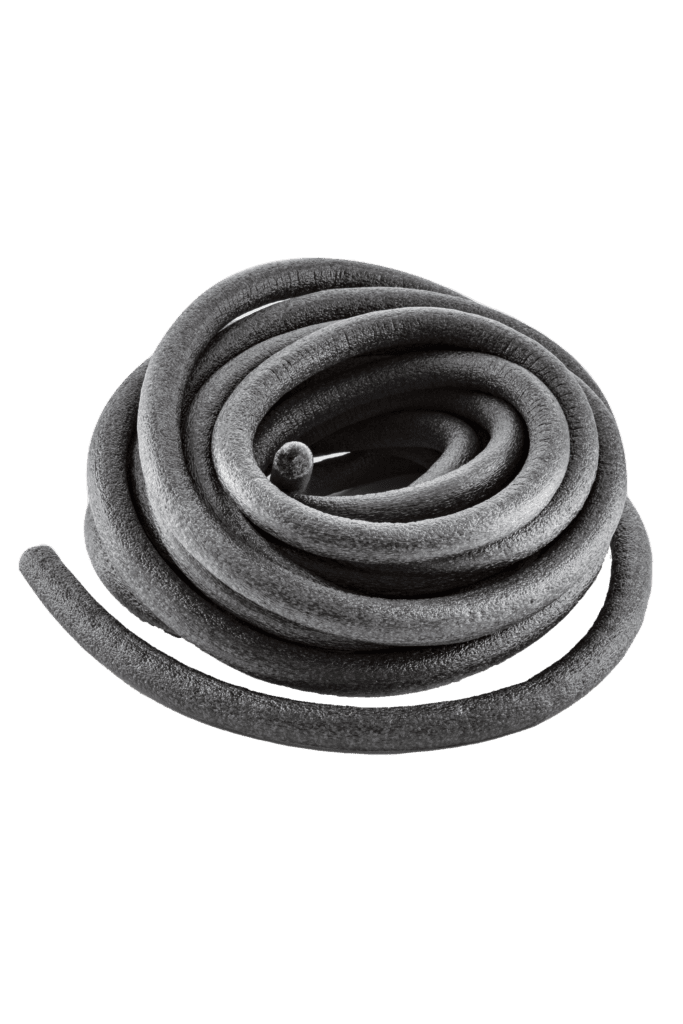
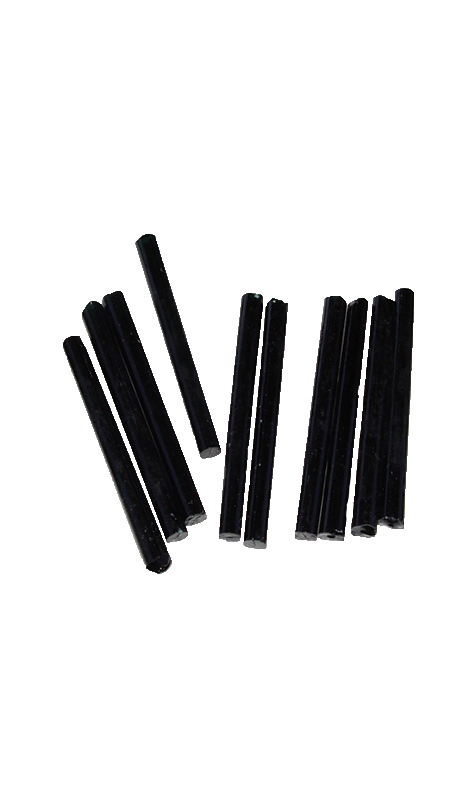
Backer Materials that Seal Things Right the First Time Backer Rod, Grip Strip, and Log Gap Cap all help you create the ideal joint desing for a long-lasting, durable seal
Logs are in constant dynamic motion. That's why there's Log Builder®, the sealant made for log structures. Stretches up to 500% of original size, while still maintaining tenacious adhesion to the wood.
When other chinking pulls away, Log Jam holds its seal With Log Jam chinking, you can keep the cozy feel and rustic look of a log home without compromising comfort and performance.
Easy to Use - Hard to See Keep out weather, bugs, and moisture without seeing it. Conceal disappears into the woodwork so you don't know the wood starts and the caulk begins.
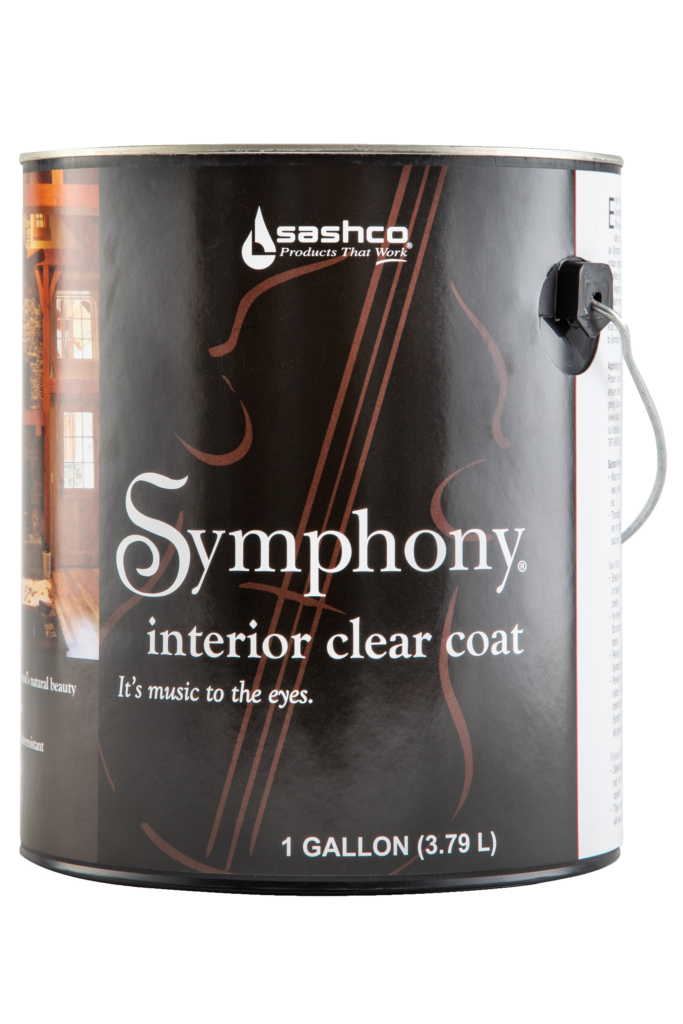
It's Music to the Eyes Symphony works in harmony with the unique character of your logs and wood to reflect an atmosphere or cozy warmth and elegance while creating and scuff-resistant and durable surface that's easy to dust.
Right Color. Right Quantity. Right Now. Never run out of stain at the jobsite again. Stock exactly what you need in your truck or trailer at the jobsite.
Easy to mix
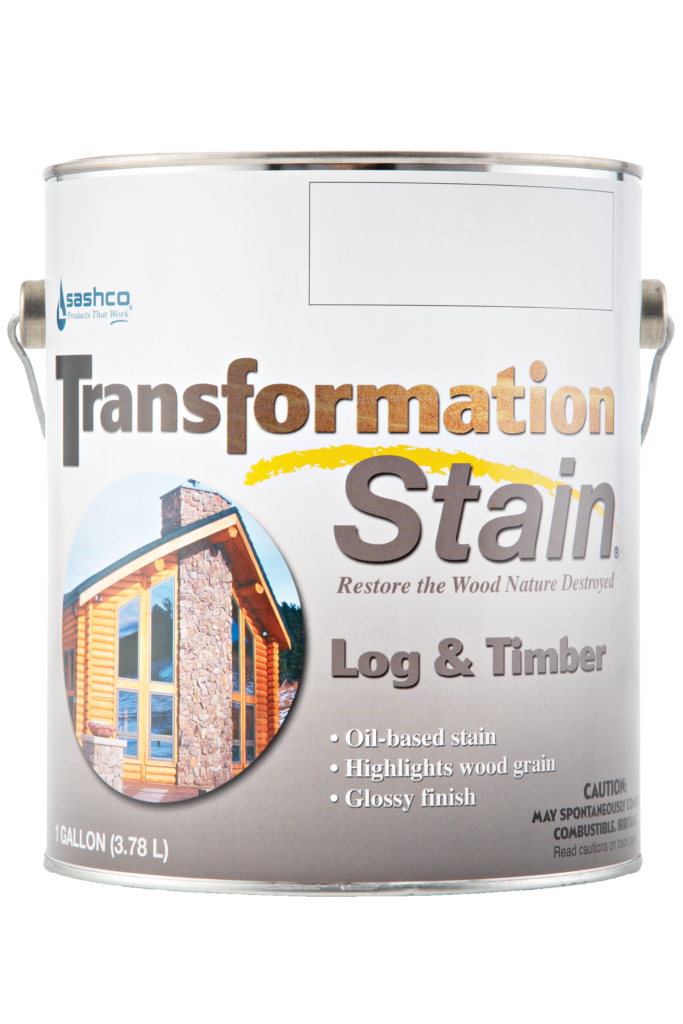
The same color, durability, and application you've come to expect from Capture Log Stain and Transformation Log & Timber
Maintenance Made Easy Now that Capture® Log Stain is applied, it’s time for Cascade® Clear Topcoat to bring out the depth and character of your unique woodgrain while protecting it against moisture, mildew, and algae. Predictable and affordable routine maintenance with Cascade throughout the years means your home stays protected and beautiful. Easy!
Keep the Color the Color Colorfast delivers the ideal canvas for stain application and leaves behind the strong foundation necessary for long-lasting color. It’s color confidence for your log home.
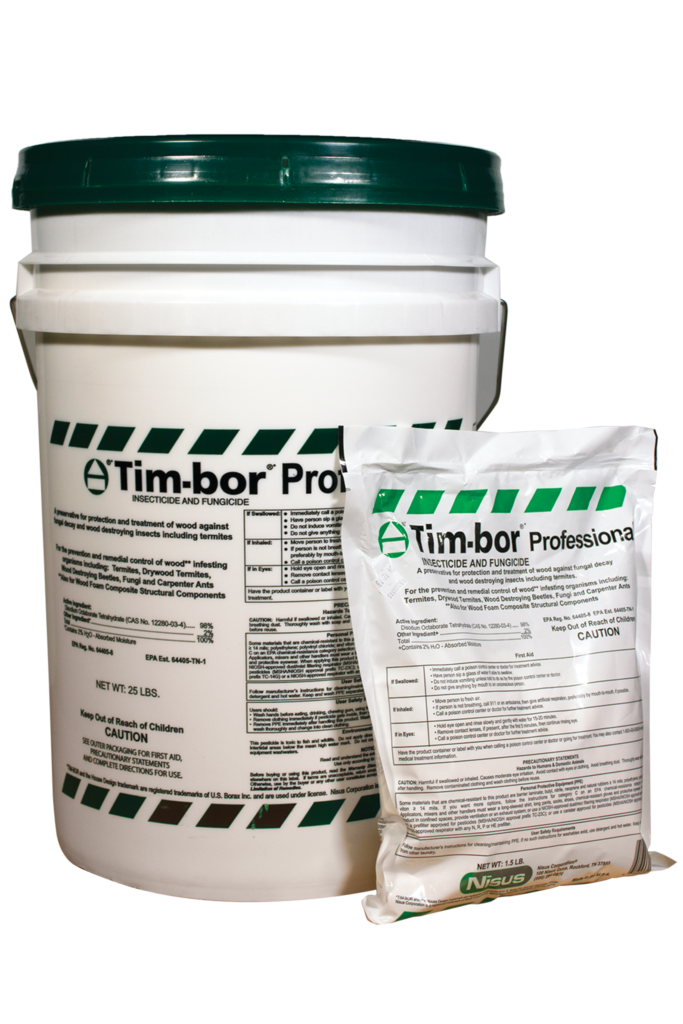
Rot, weather, insects, fungi all pose a serious threat to your logs. Protect your investment—treat your logs first to make them last. Tim-bor® helps protect your home from the costly damage caused by rot and insect infestation.
Bugs don't stand a chance
Easy to mix and apply
Prevents decay fungi
Costs 5 times less than glycol-based borate products
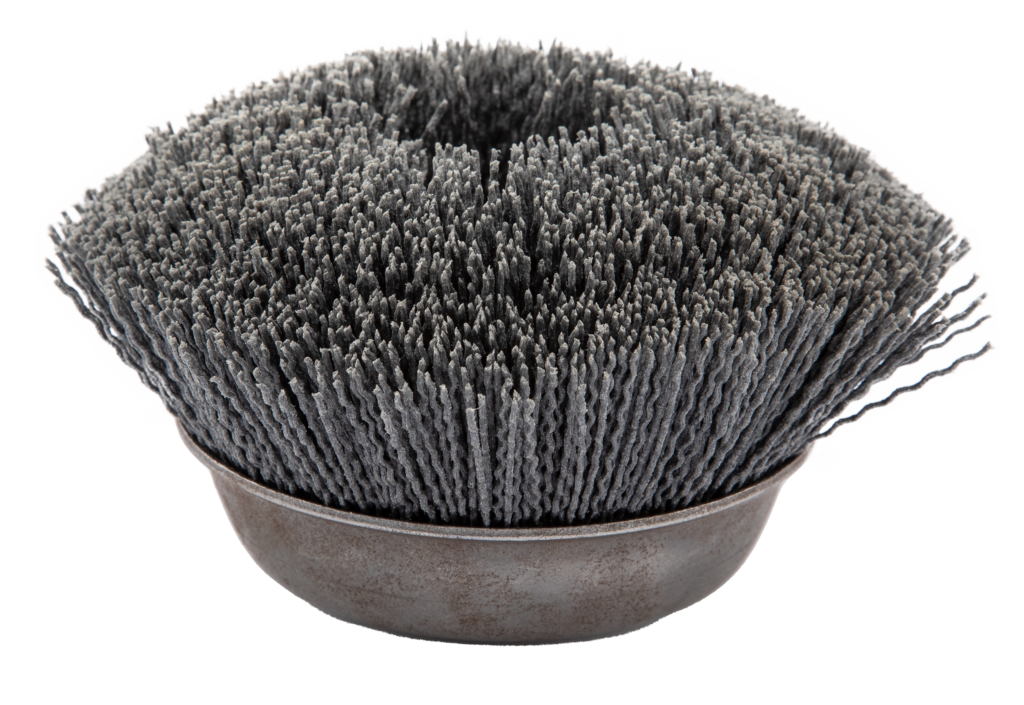
Remove Wood Felting and Raised Grain Remove wood fuzz (called felting) after power washing or media blasting, and knock down excessive raised grain with Sashco's finish sanding tools
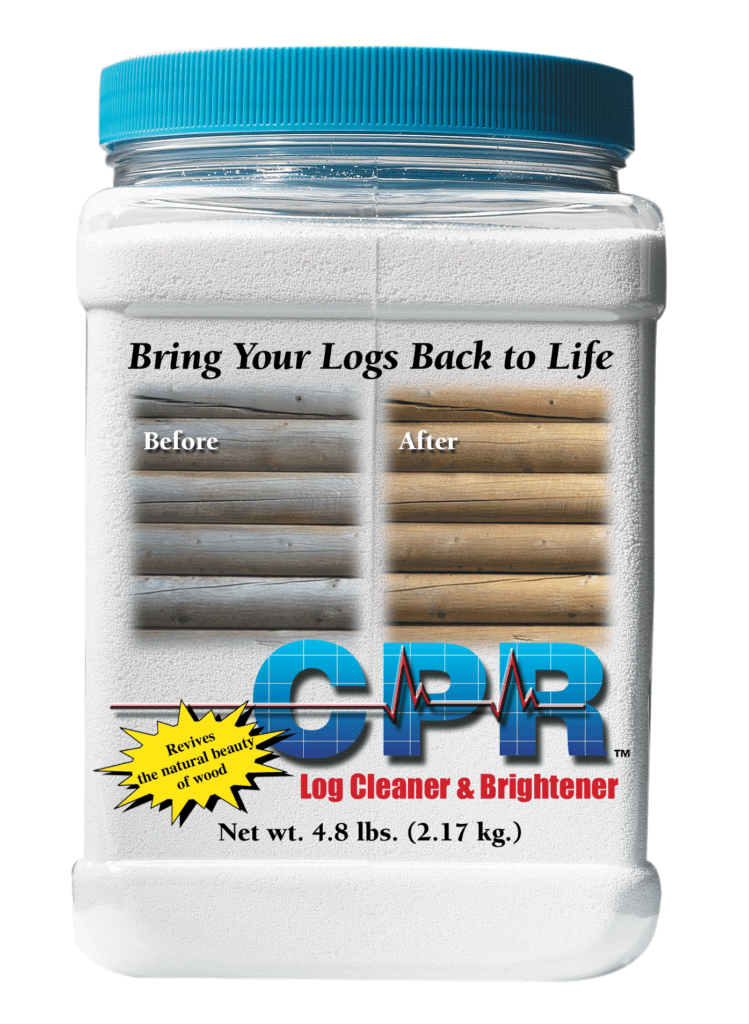
Clean and brighten bare logs and wood, remove surface dirt, pollen, and kill mold for maintenance, and keep your logs looking fresh with CPR Log Cleaner and Brightener