A Log Home Restoration Story With Sentimental Value.
A log home restoration story with sentimental value.
Langdon Log Home Restoration | The Riverside by the Missouri River
“I was concerned that the logs would never get back to a semi-natural color. I couldn’t see that happening in my mind’s eye. The logs were beyond repair.”
Too Far Gone
In 2008, Mike inherited property owned by his dad for over 30 years. On that property was a house made partially of round 8 inch logs, constructed sometime in the 1940s, over 30 years before his dad bought it. The trees were felled, debarked and stacked one on top of the other, while miles away the rock that would become Mount Rushmore was getting a facelift. Over 70 years later, Mike’s house was in need of its own facelift.
The logs were dark and lifeless, nowhere close to resembling the natural look Mike wanted. Penofin® had been used repeatedly over the years, each time soaking into the wood and looking more and more, according to Mike, “like someone had doused it with diesel fuel.” Rot had become a problem, which confirmed Mike’s suspicion that the logs weren’t being protected from the moisture commonly present due to the lake near their home.
They call it chinking: whatever you can find to stuff in between the logs. Mud, grass, mortar or even underwear (this has been done!) has been used to try to keep the cold air, moisture and bugs out. Mike’s house had been chinked with a Portland cement mixture, which is built to stay and not move. Logs, however, like to move — a lot. Each expansion and contraction cycle created an ever-growing gap between the Portland cement and the logs, welcoming in cold air, moisture and bugs.
Get the Chisel
With hammer and chisel in hand and determination in spades, every piece of mortar was painstakingly removed, one little piece at a time. Nails every six inches that held the mortar in place created an abundance of obstacles to work around. And then there are those moments when the hammer misses the chisel and your hand becomes the chisel instead. But don’t worry, Mike and his family hit the chisel every time. (Don’t ask them to confirm that.)
Restoration Insight: Unsound wood refers to wood fragments (typically on the surface) that are poorly attached to the bulk of the wood underneath. Unsound wood is caused mostly by UV degradation. Unsound wood will always separate from the sound, healthy wood underneath, taking any stain applied on top with it. It gives the appearance that the stain is failing. In reality, it’s those wood fragments that are failing.
Sand paper seemed the logical choice to remove both the old stain and weathered wood. After all, most of us have used sand paper to prepare wood surfaces for painting, so why would this be any different? Mike got out his belt sander and started to go to town. After burning through more than $100 worth of sand paper, Mike realized he brought a knife to a gun fight. It fell apart every time he hit a knot and was wholly ineffective at removing old stain and weathered wood.
Call an Expert Now
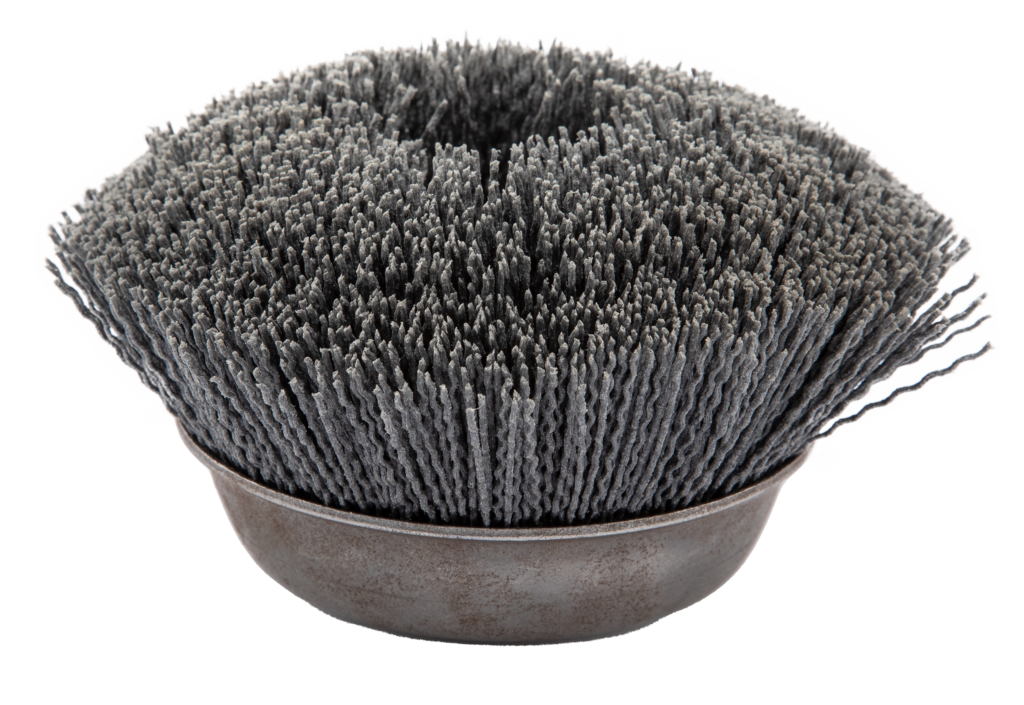
Experts are those that have ”been there, done that” and can offer some timely solutions when you are fresh out them. Mike sought out expert Skip Byers from Log Home Maintenance Supply, a former log home finishing contractor and current log products retailer. Skip introduced Mike to media blasting, a much more aggressive and expedient approach to wood prep.
Restoration Insight: Crushed glass media is excellent at removing unsound, loose wood fibers without compromising the integrity of the rest of the log.
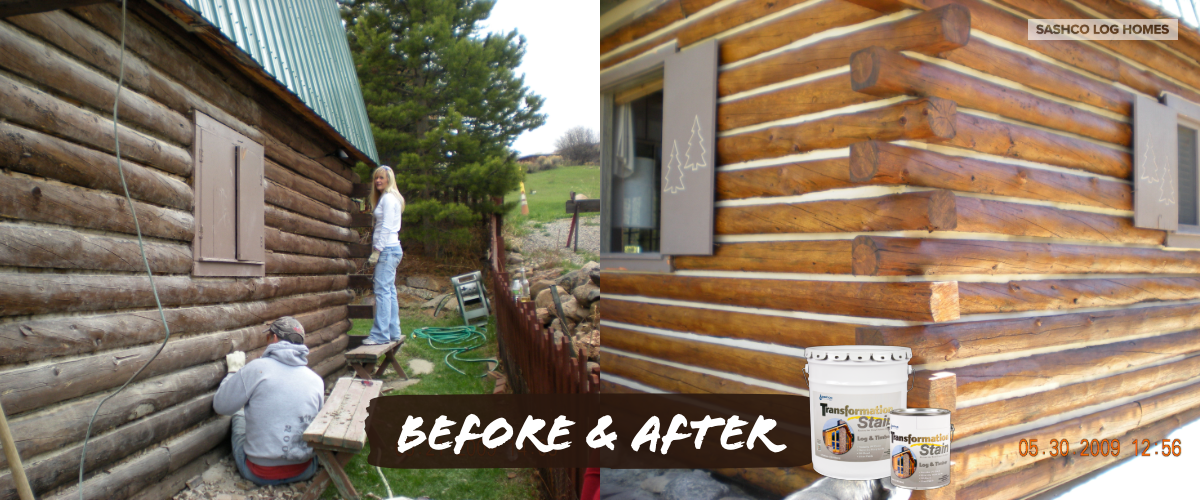
After hiring a contractor to do the blasting, the wood again had that “like new” yellowish look. As with every restoration, you can expect the unexpected. It turns out that those wood furring strips in between the logs weren’t a sufficient barrier. The inside of the house was filled with media dust. Uggh!
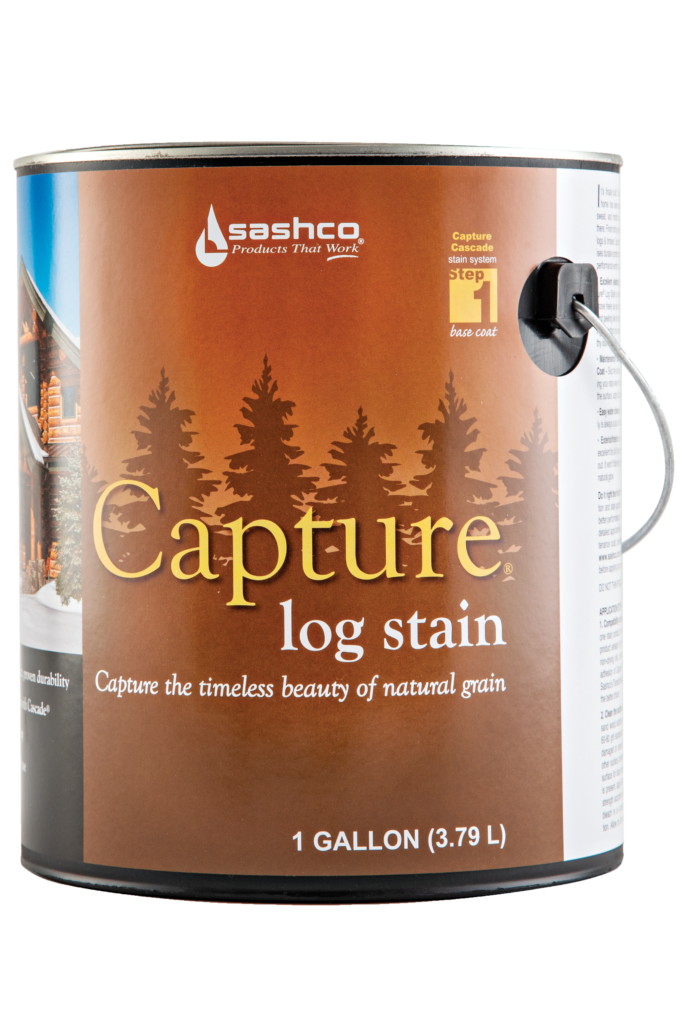
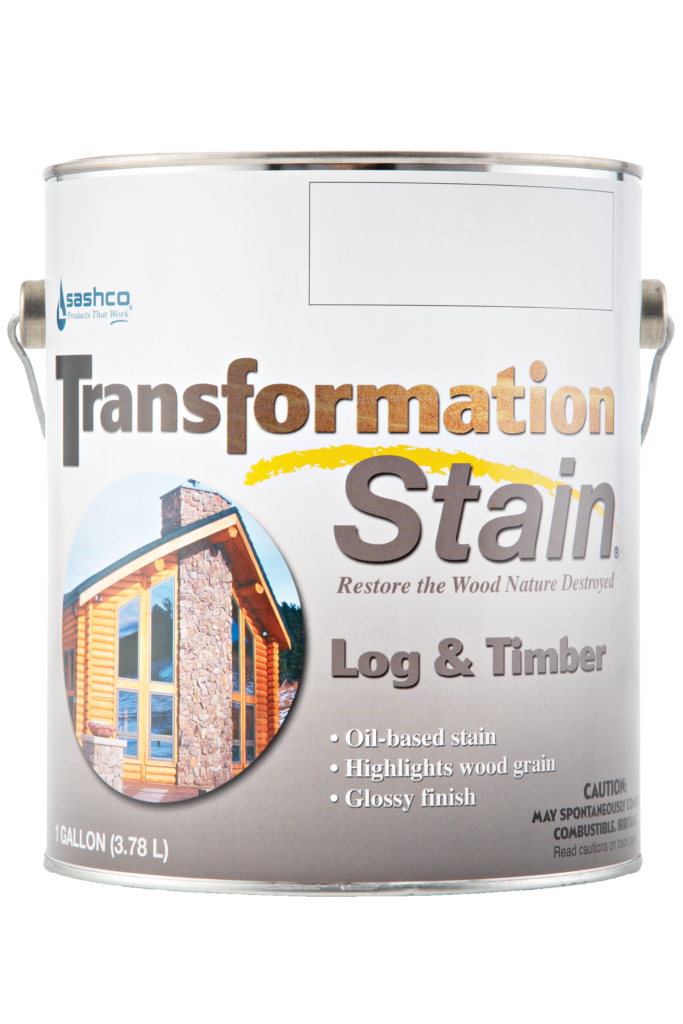
Time for the fun part. One person sprayed and the other followed up with a brush. The brush person’s job was two-fold: push the stain into the wood and brush out any runs. They applied one heavy coat of Transformation Stain Log & Timber and applied more stain to areas that looked dry even after the initial flood coat.
Restoration Insight: If you don’t have runs, you aren’t applying enough stain.
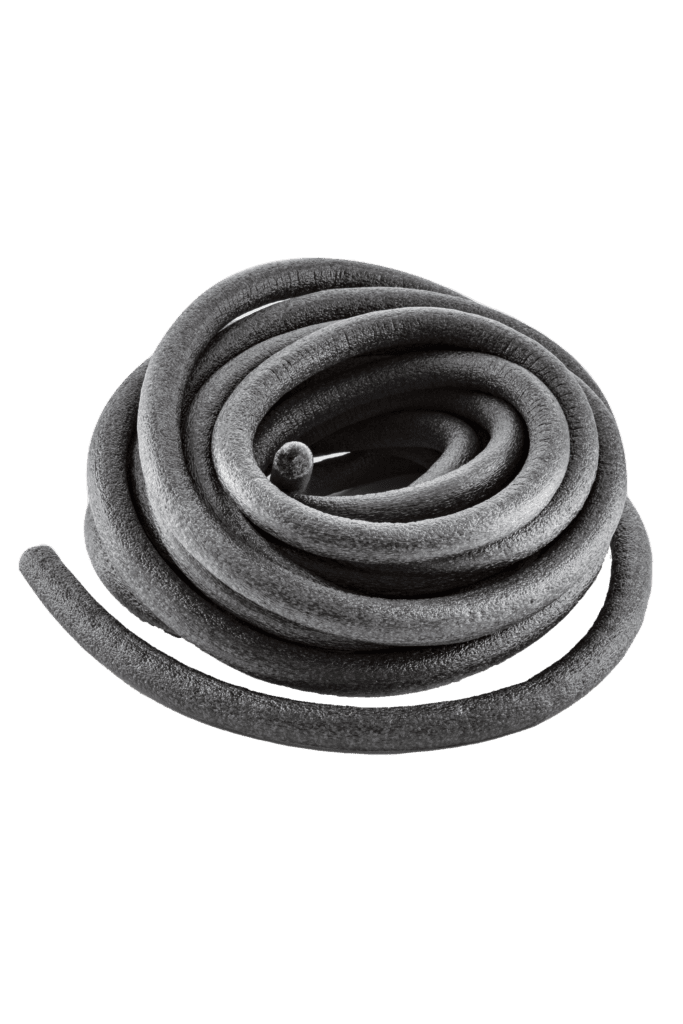
These logs were not uniform in size nor were they milled prior to stacking. Combine that with 70 years of movement, and the gaps between the logs were so irregular that fitting backer rod was a near impossibility and yet another curveball. Mike called an audible (Omaha! Omaha!), deciding to apply the Log Jam chinking without any backer rod at all.
Restoration Insight: Normally a bond breaker is required to avoid sealant failure. In this case, the logs were so old that extreme movement was not occurring, so a backer rod wasn’t necessary.
Restoration Insight: Fill in upward facing checks that are 1/4″ inch or larger.
The Big Reveal!
Log Jam chinking, a bulk loading gun, 100 foam brushes, spray bottles and a few aluminum benches to reach the upper courses is the exact recipe for family bonding (or chinking your log home). The foam brushes were the perfect size for those smaller gaps between the logs. Every check in the logs was filled with Conceal caulking, which is slightly textured to mimic the wood grain. And to avoid log rot that had been a problem on the lower courses, small holes were drilled, Cobra™ Rods installed, and Conceal caulking used to seal the holes. Three long weekends, education on proper techniques, high-performance Sashco products, perseverance and a lot of elbow grease made a restoration of this 1940’s log home possible.