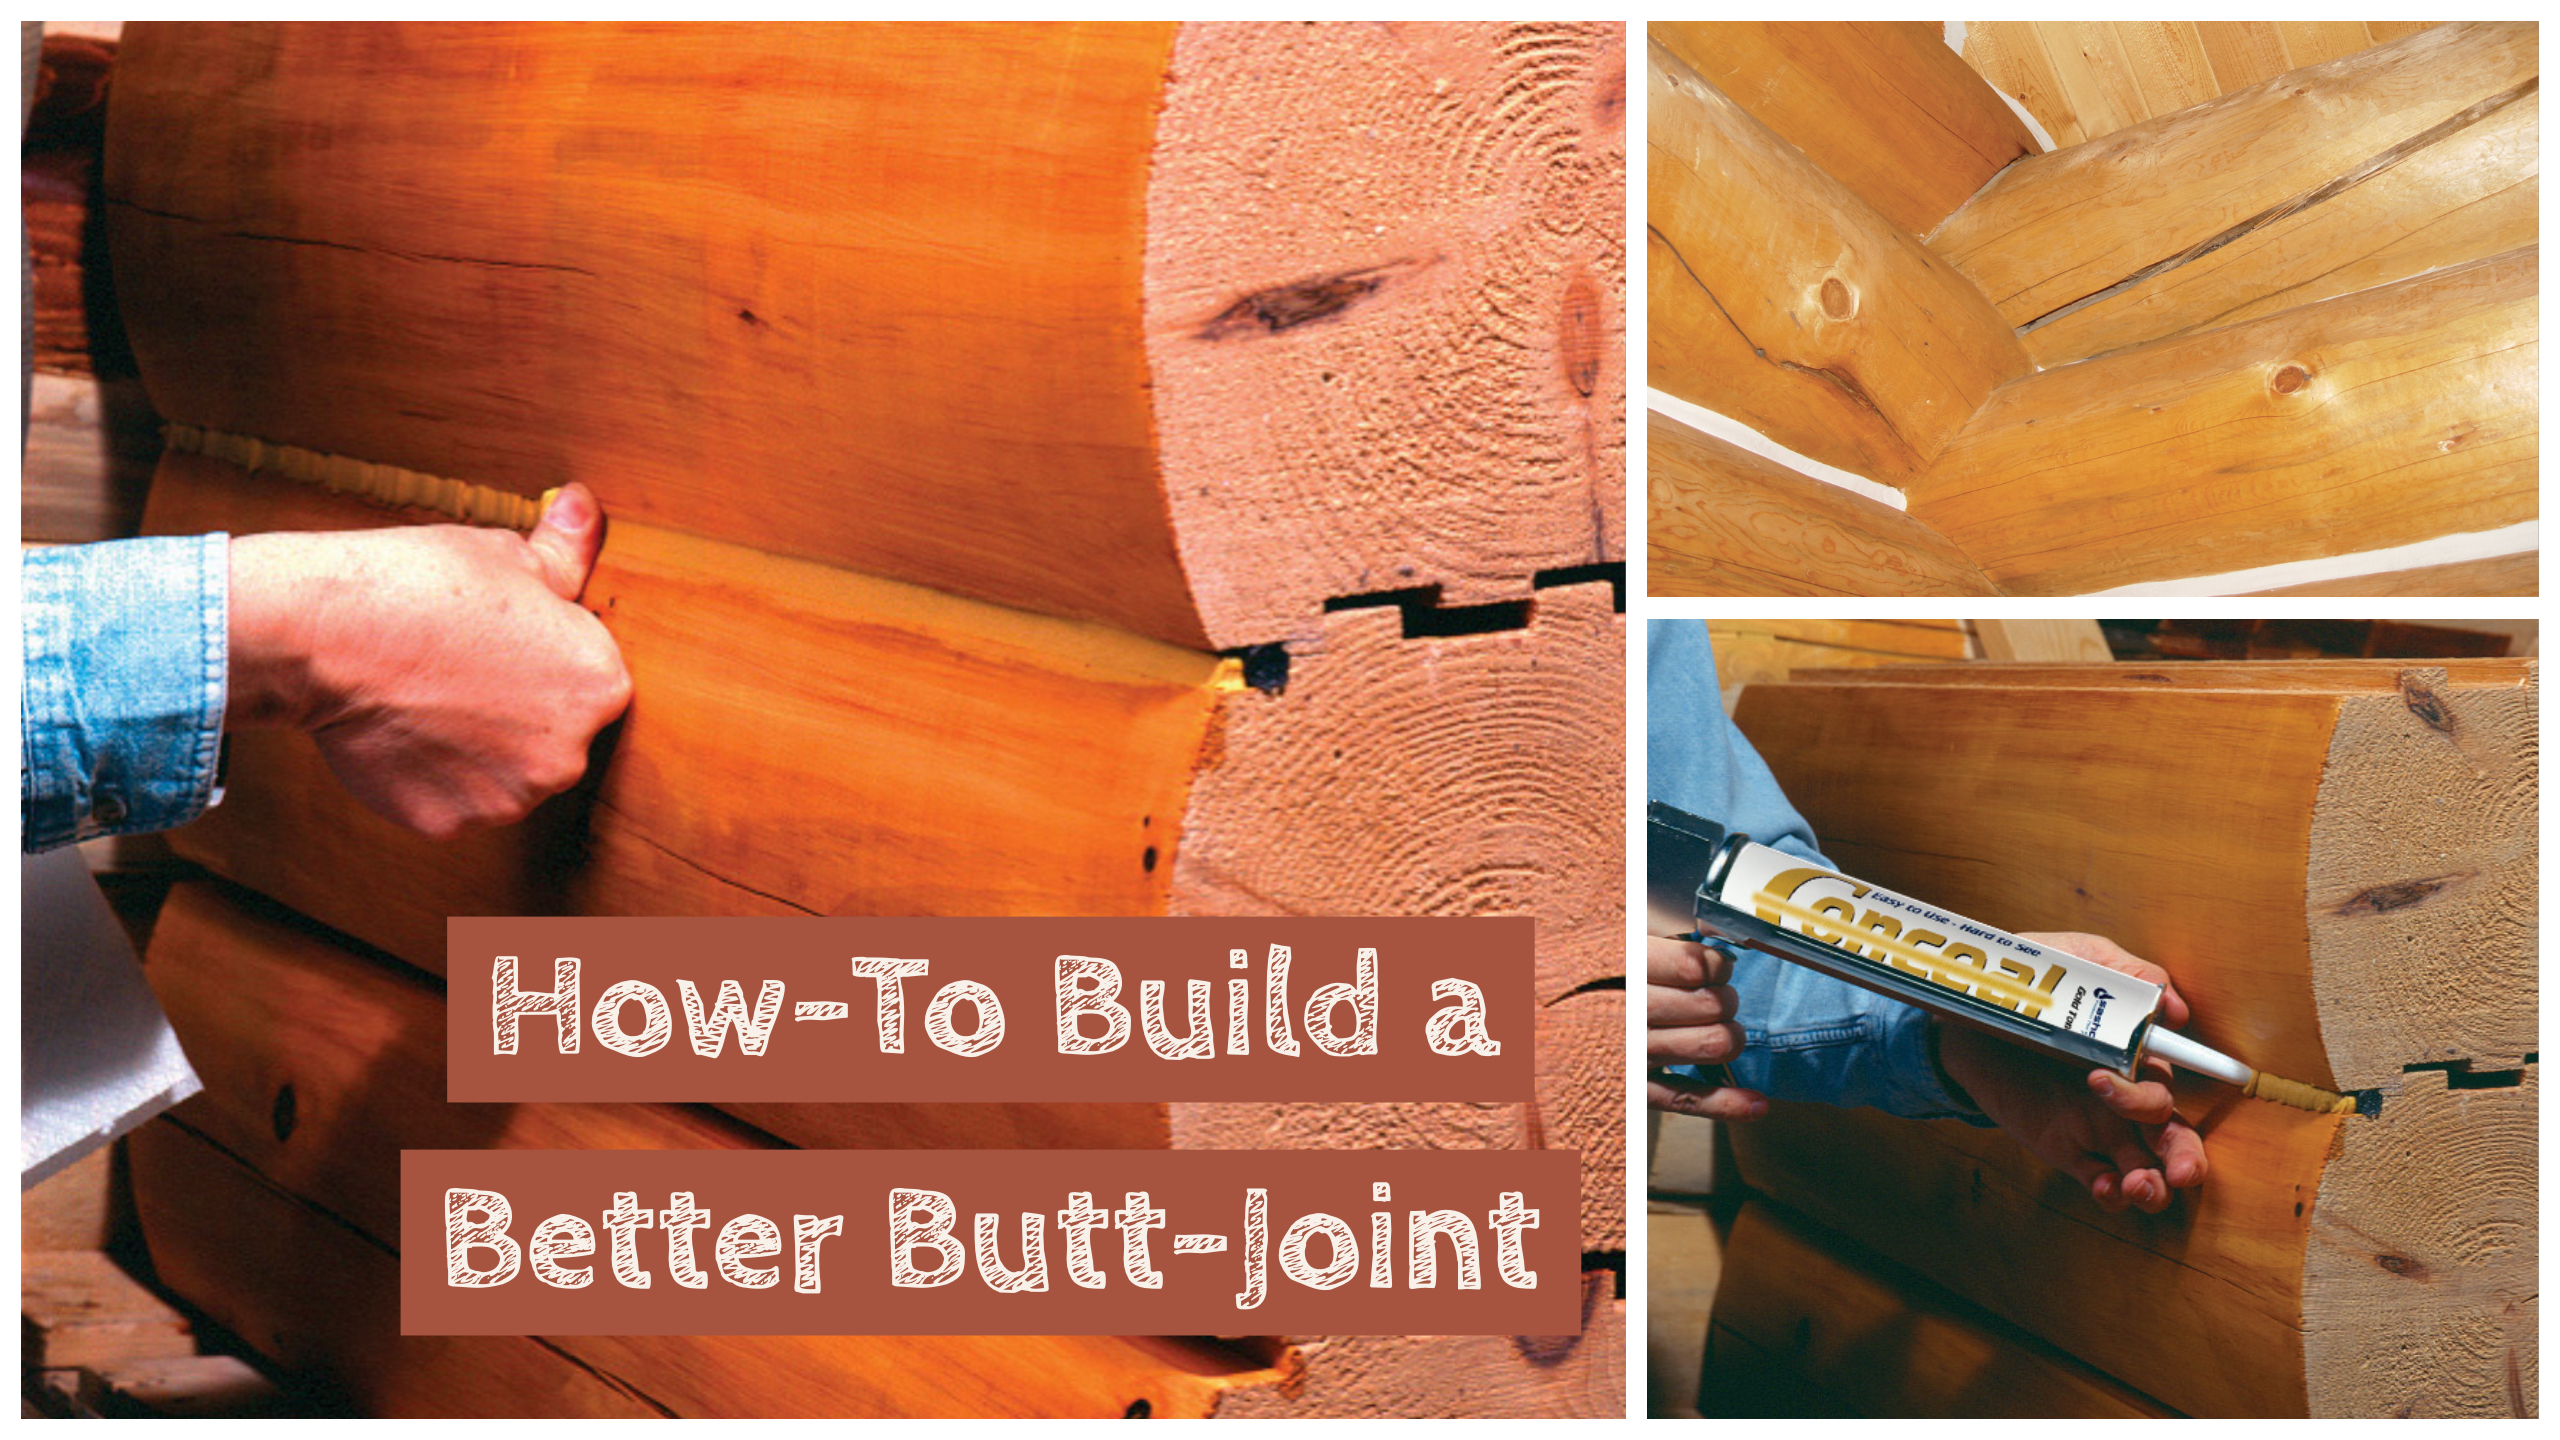
How to Make a Butt-Joint | Log Cabin Construction Techniques
This month we’re talking about building a nice butt. Nope, not that kind of butt. We mean butt-joints! Our very own log home expert, Paul Peebles is sharing some of his very best tips from the field to help you build a better butt-joint.
By Paul Peebles, Southeast Territory Manager (and log home owner who knows a thing or two about butt-joints)

We need to have a talk about your butts.

No, not those butts — I mean butts in log homes, sometimes called butt-joints. These things cause a lot of trouble in the log home business because, too often, they are not designed correctly. That’s a problem because a poorly designed butt-joint can allow water and bugs into your home or behind the log siding, leading to rot and insect infestations. Yuck. After decades in the industry, I have found that close to 90% of water damage and rot are caused by leaky butt-joints. In most cases, when I have been called to a home that leaks water, I have found that it is the butt-joints that leaked — sometimes for years! The problem begins when builders butt two logs tightly together during construction. It looks tight, so it must be right, right? We all know that after a couple of years, the logs shrink, opening up those joints, and this lets in the water. Bad situation! One common indication that this has occurred is a little bit of daylight showing from inside the home. Follow these easy steps for effective butt-joint repair.
Step One: Bring out the circular saw.
Place two blades into a circular saw (I use one of the small 5 ¼” rechargeable saws) and tighten the arbor. Make sure both blades are turning in the correct direction.

Step Two: Carefully cut
CAREFULLY plunge-cut the butt joint to open it up to ¼” wide from top to bottom. While doing this, try to keep the blades in, or on, the end of either the right or left log so you cut off the very end of one log or the other. Cut as deeply as you can into the log, but not down or up into the logs, or above or below them. For safety, I do not tighten my saw arbor completely. This sounds more dangerous, but it’s not. If you leave the arbor snug but not tight, the saw blades will spin on the arbor when the saw is in a bind and prevent the saw from kicking back.

Step Three: Clean checks
Carefully clean out any checks that extend into the butt joint. I use a multi-tool with a cutting blade.

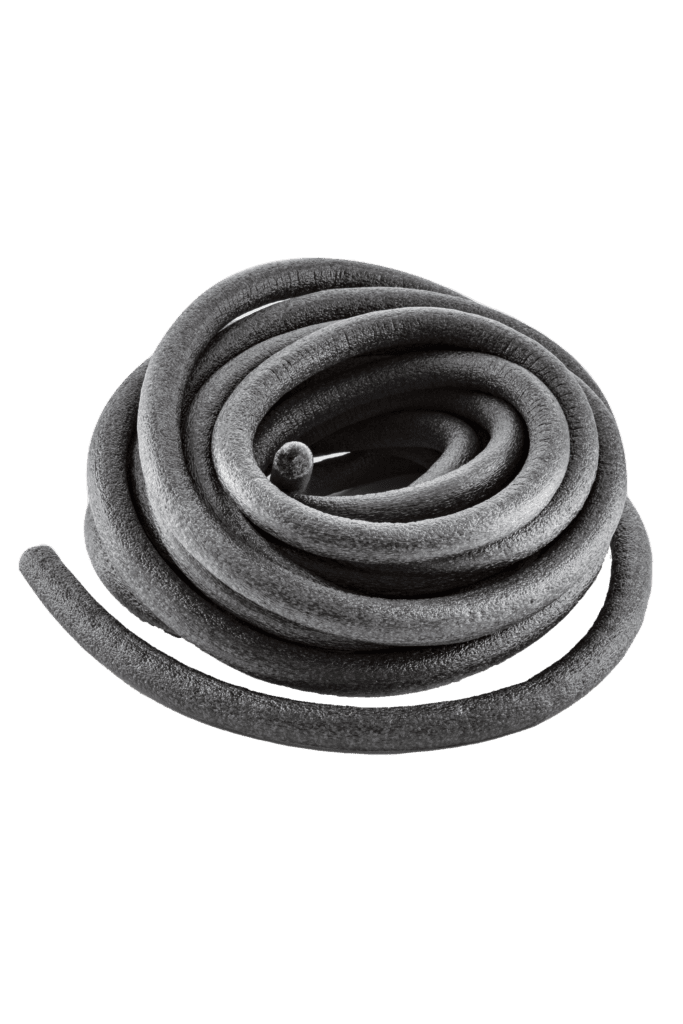
Step Four: Insert backer rod
Add backer rod to the checks and to the gap between the logs and caulk. This configuration allows you to add the caulking INTO the gap between the logs and not just smeared ONTO it.

Step Five: Seal
Caulk over top of the backer rod with a good quality sealant like Conceal® or Log Builder®. Be sure to tool it smoothly. If applied correctly, this will be a durable seal that should last darn close to forever.