Concrete Crack Repair in Five Easy Steps
Are you dying to get something done around the house this weekend? Try repairing a crack in your concrete driveway, patio, or sidewalk. It’s not rocket science. We make it easy. Just follow these five steps.
1. Surface Preparation
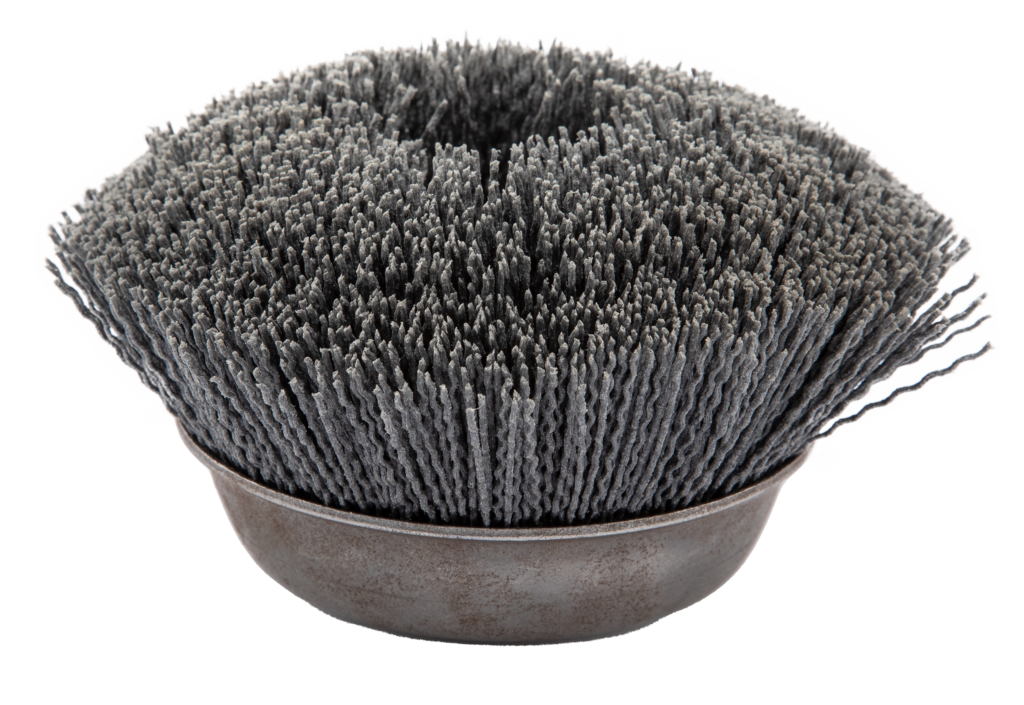
Remove any previously applied caulk or foams, as well as oils, dirt and other contaminants. These all can interfere with the adhesion of Slab or the other caulking you are using. Thoroughly clean the crack with either a stiff bristle brush or a drill mounted brush. Sweep or blow out any debris.
 A Dremmel(R) tool works great, too.
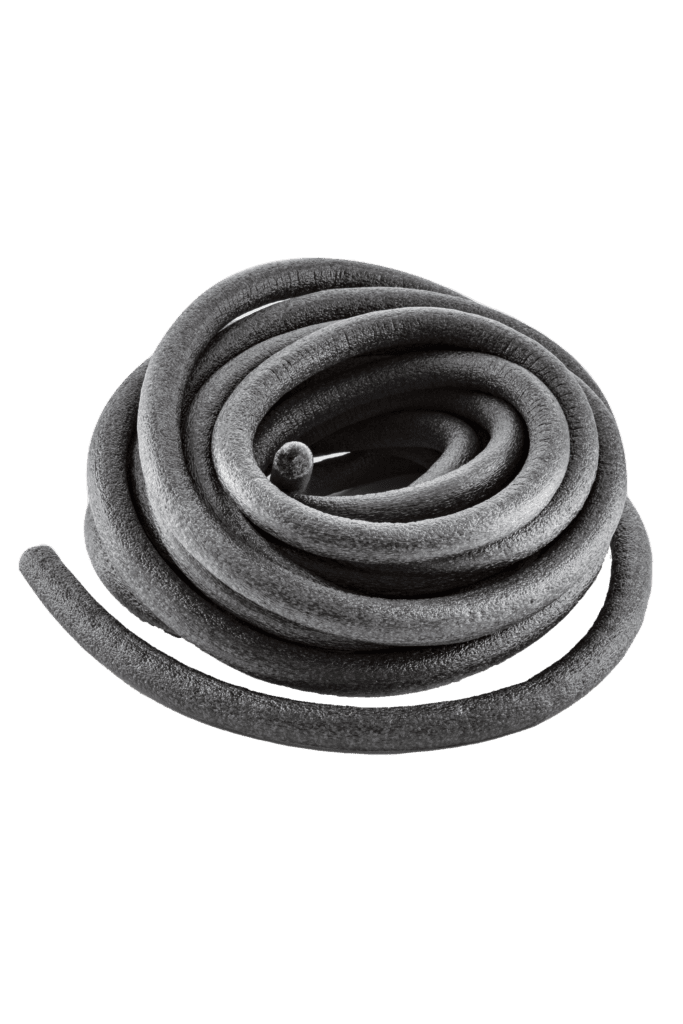
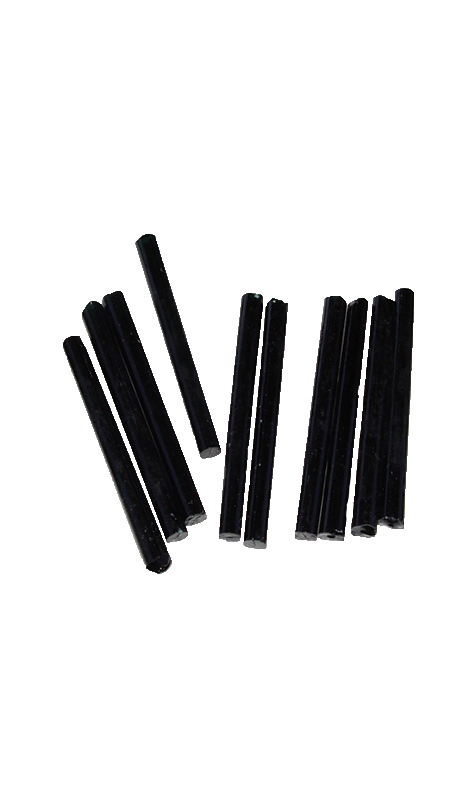
For joints 1/2 inch deep or more, install Sashco® Pre-Caulking Filler Rope™ or another type of backer rod to help save on caulking a provide ideal joint design. Why? See our post on 3 point adhesion.
 Insert the Filler Rope
Cut the Nozzle to the desired bead size. Gun Slab into the crack. For wider cracks (1 inch wide or more), apply 3 beads: 1 on each side of the crack, and another down the middle. This ensures enough product is in the joint, and makes tooling easier.
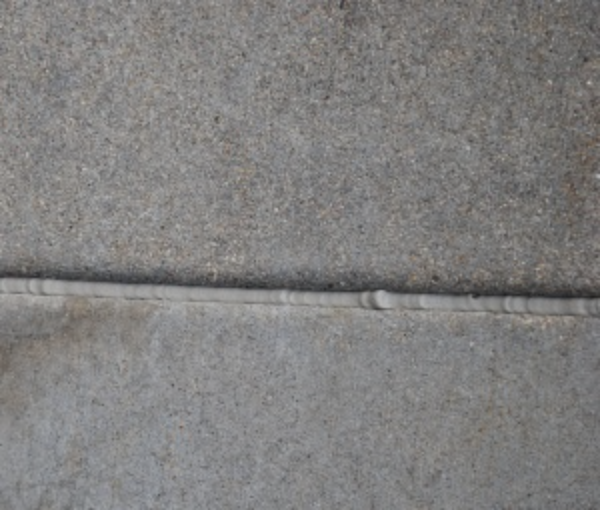
 Cut the nozzle to the desired bead size and apply Slab.
Ensure the best adhesion and durability by smoothing the bead (also called tooling). Use water and a damp foam brush, trowel or your finger. For best elasticity and durability, make sure Slab is slightly recessed after complete cure.
 A narrow crack example, 1 bead.
 Wide crack or joint example, use 3 beads.
Clean up any fresh product on surfaces and skin with soap and water. Store any leftovers by tightly sealing the tip with plastic wrap and a rubber band, then store in moderate temperatures (between 50°F and 90°F).
Done! One 10.5 ounce tube of Slab will cover approximately 26 lineal feet with 1/4 inch (6mm) bead. Few home repair projects this easy have such great results!